Edmonton Bathroom | Waterproofing your bathroom is not just a necessity; it’s a smart investment into the longevity and functionality of one of the most important rooms in your Edmonton home. Given the extreme weather conditions Edmonton can face, ensuring your bathroom is properly waterproofed can save you from costly repairs due to water damage. This comprehensive guide will provide the essential steps and tips to achieve a waterproof sanctuary, blending both luxury and practicality.
Understanding the Importance of Waterproofing
Water damage in a bathroom can lead to serious issues, including mould growth, structural damage, and costly repairs. By waterproofing your bathroom, you protect your home’s integrity and enhance the bathroom’s durability. It’s not just about applying a layer of waterproofing material; it’s about creating a waterproof environment that can withstand Edmonton’s varying climate.
Step 1: Preparing Your Bathroom for Waterproofing
The first step in waterproofing your bathroom is preparation. Ensure the “wet area” is stripped back to the studs. Check for mould or wood rot. Dealing with these is beyond the scope of this article. It is time to call in a professional.
Step 2: Selecting the Right Waterproofing Materials
Choosing the right waterproofing materials is crucial. For Edmonton bathrooms, you’ll want materials that can handle temperature fluctuations and high moisture levels. There are three main types of waterproofing.
- There are liquid waterproofing membranes. These are the least effective. They generally have a high VOC and must be applied with proper ventilation, as well as worker PPE. Applying the waterproofing membrane requires precision. Start by applying a primer if recommended by the membrane manufacturer. Once the primer has dried, apply the waterproofing membrane. Use a brush or roller for even coverage, ensuring you cover all corners, joints, and edges. Three coats are usually recommended, with sufficient drying time between applications.
- waterproof skins. These are applied on the surface of the boarding material. Care must be taken with all seams, as well as where the walls meet the shower base or tub. The drywall or greenboard must be sound and dry. Apply a thin coat of non-modified thinset. Press the waterproofing material over the surface. Use a trowel to remove any air pockets. Overlay all seams by 3” take extra care at the corners and base.
- Integrated foam board. This is the best waterproofing currently available. It is a closed-cell foam with a fiberglass-reinforced cement-silicone finish. This product is designed specifically for tile. Installed properly, it will last a lifetime. There are a number of videos to assist in the proper installation of this product.
Step 3: Tiles and Grout
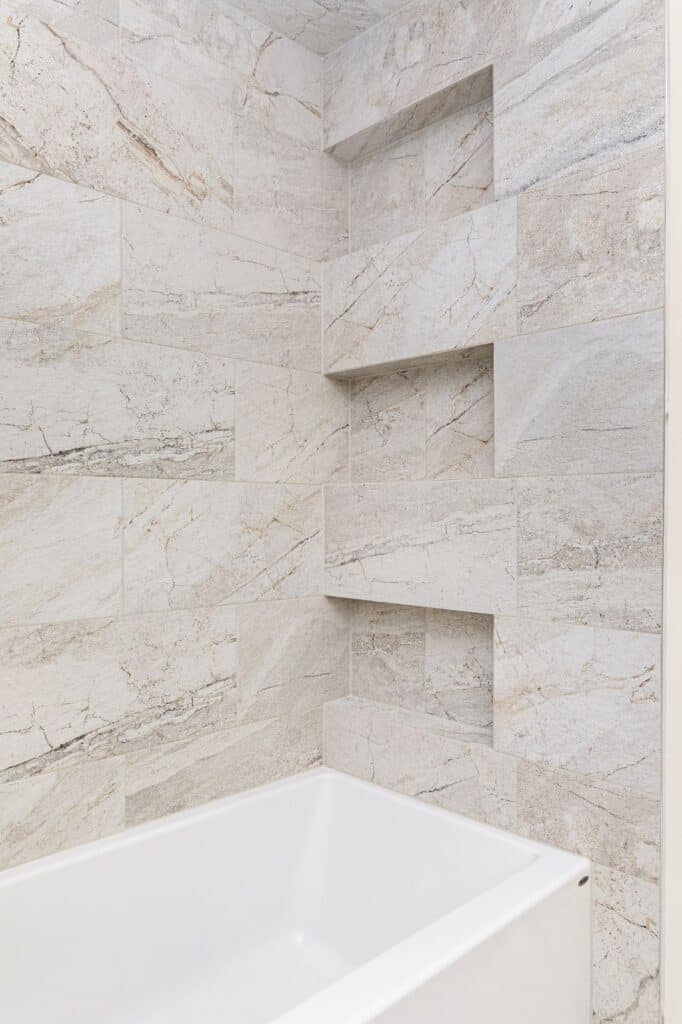
Once the waterproofing is installed and set, you can proceed with tiling. Choose tiles and grout that are suitable for wet areas. There are two main types of grout. Cement-based and acrylic grout. The cement grout requires sealing upon completion as well as re-sealing annually. This is crucial, as with a cement-based grout, it is your only protection against water infiltration.
Acrylic grout is pre-sealed and requires no further maintenance other than routine cleaning.
Maintaining Your Waterproofed Bathroom
Maintenance is key to ensuring your bathroom remains waterproof. Regularly check for any cracks or gaps in the sealant and grout. Also, ensure that your bathroom is well-ventilated to prevent moisture buildup, which can lead to mould growth.
Conclusion
Waterproofing your Edmonton bathroom is a vital step in ensuring its durability and functionality. By following these steps, you can create a moisture-resistant environment that stands the test of time, regardless of Edmonton’s challenging weather. Not only does waterproofing protect your investment, but it also provides you with peace of mind, knowing your bathroom is a safe, water-resistant haven.
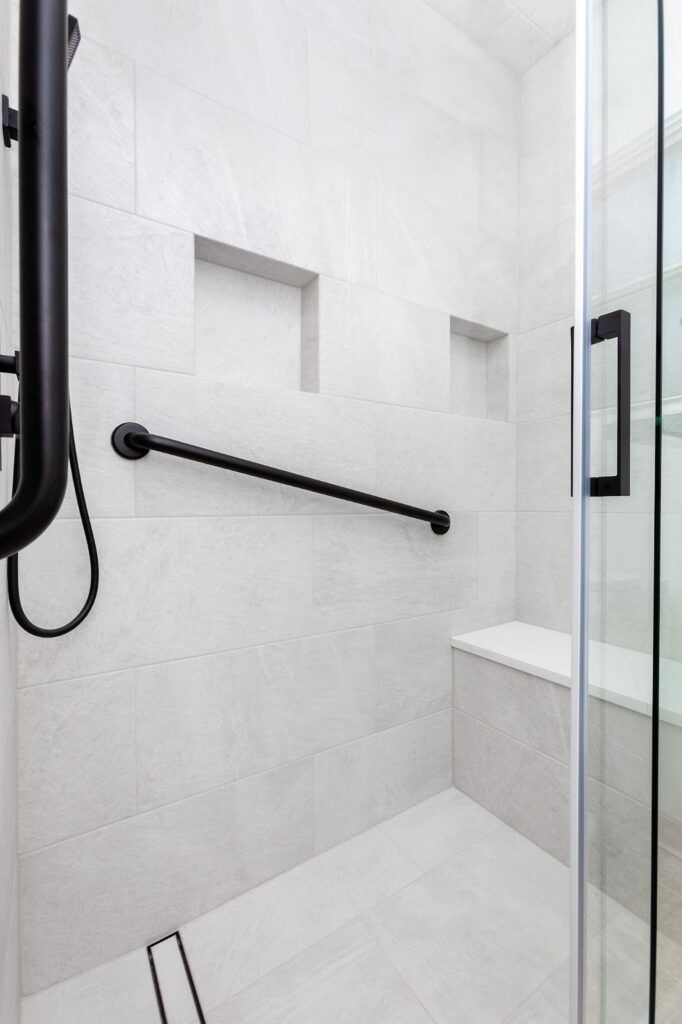
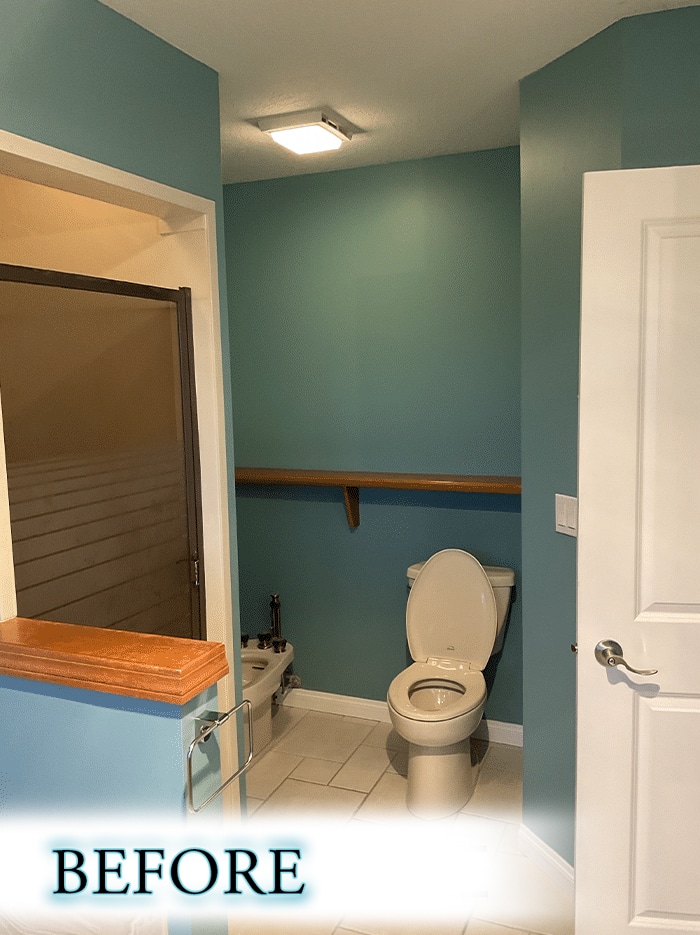
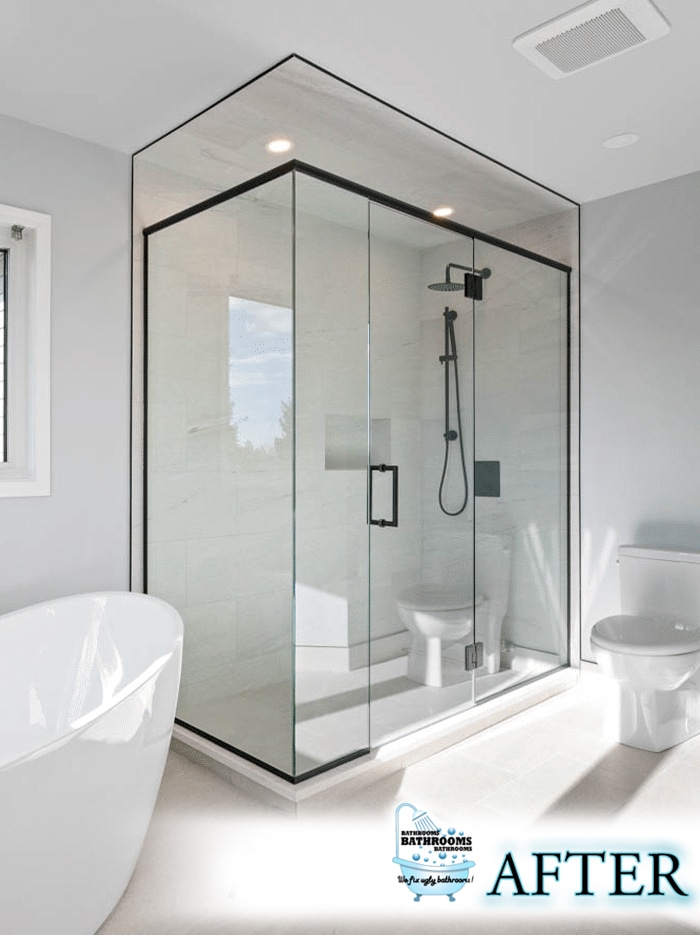
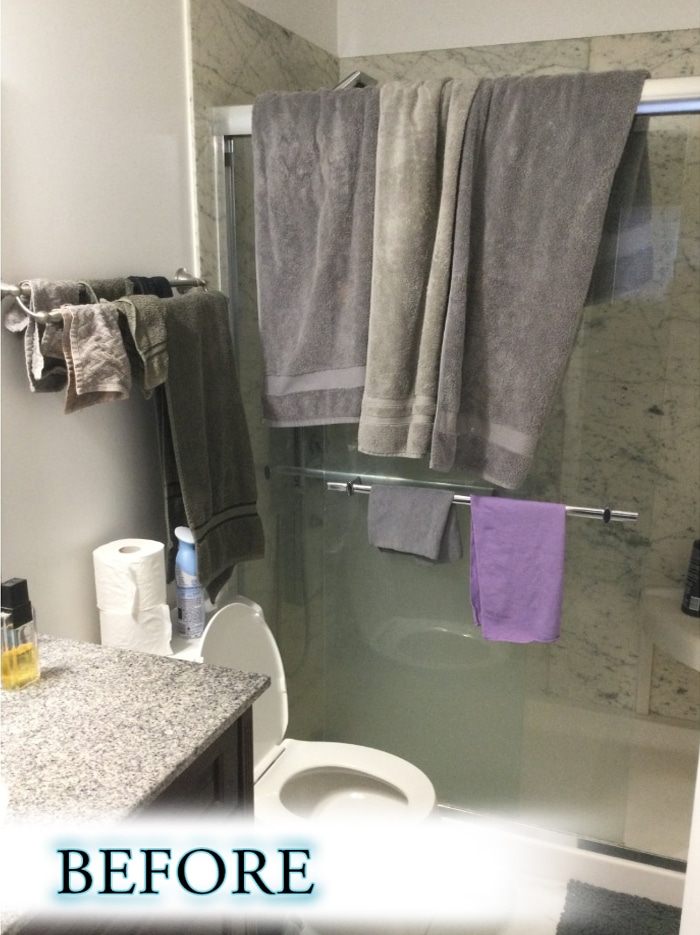
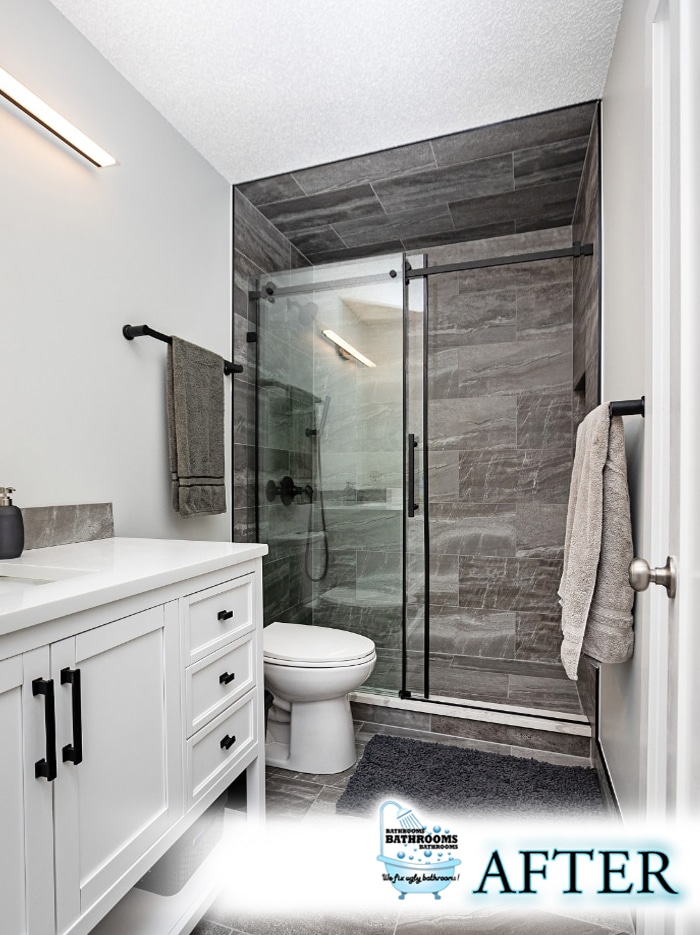
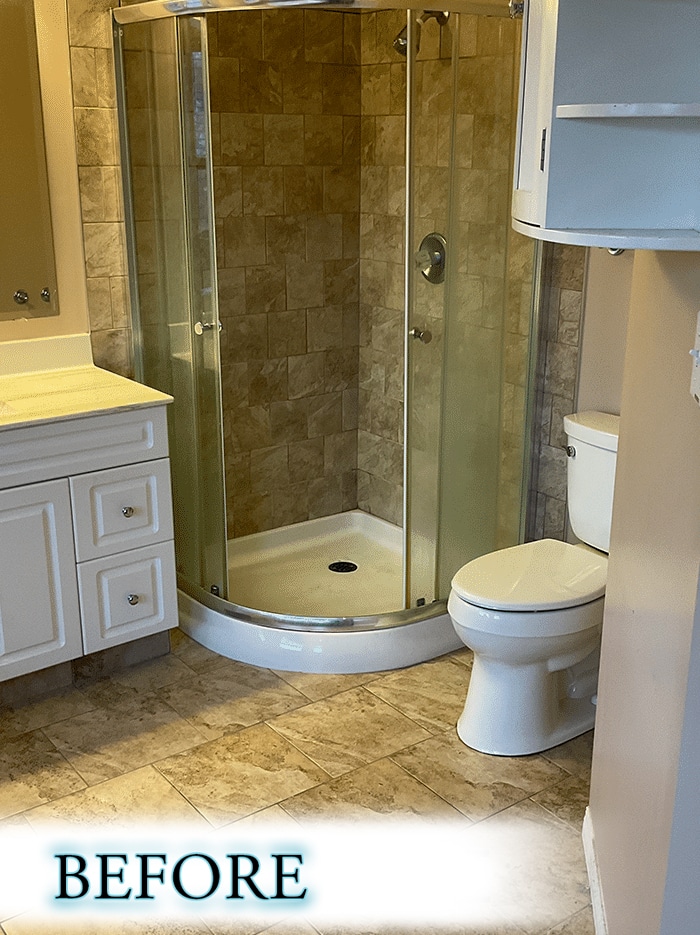
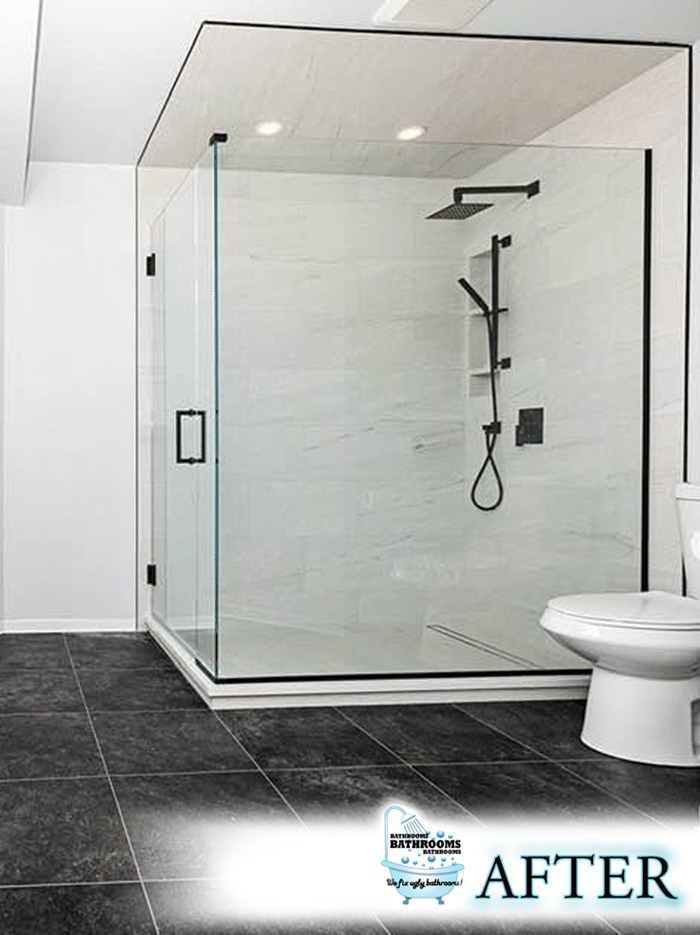
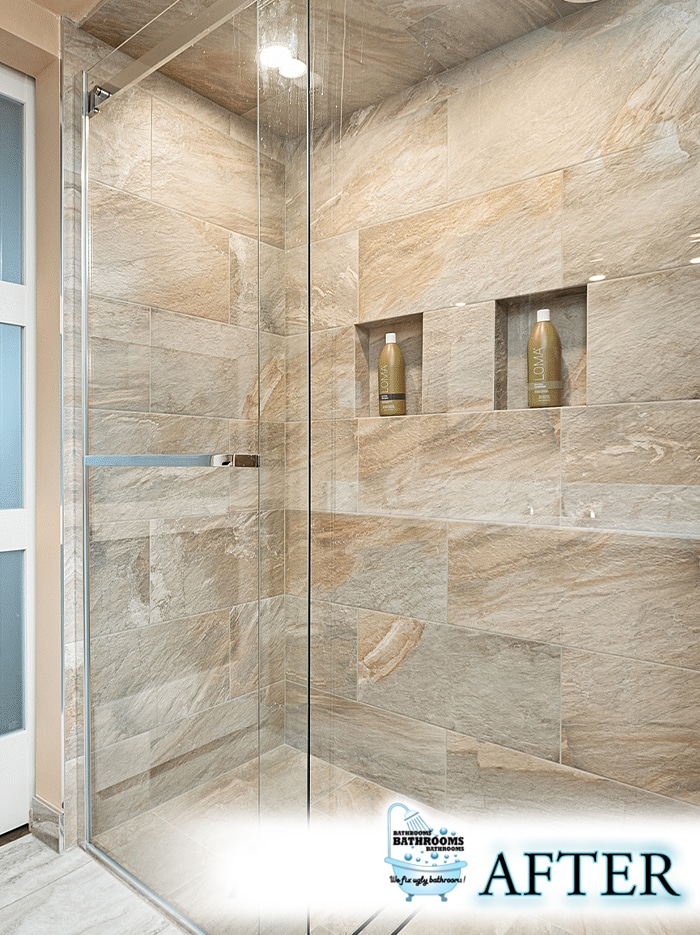
Incorporating waterproofing into your bathroom design not only protects your home but also allows for creative freedom. With modern waterproofing techniques, you can achieve a bathroom that is both functional and aesthetically pleasing, as shown in the image above. Take the step today to waterproof your bathroom and enjoy the benefits for years to come.
